
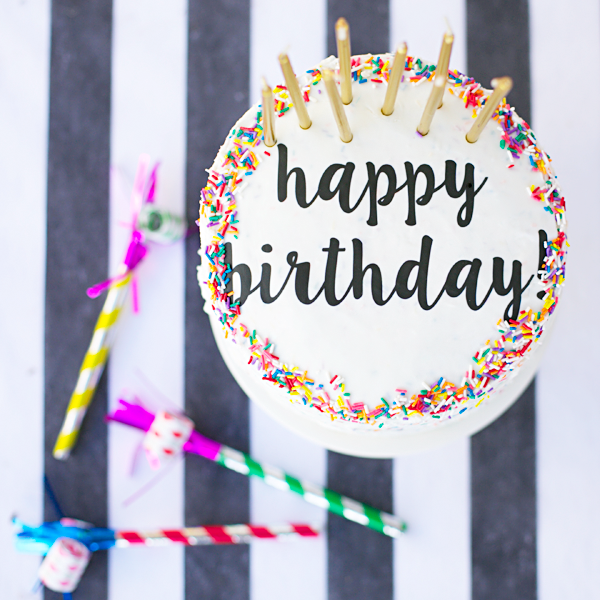
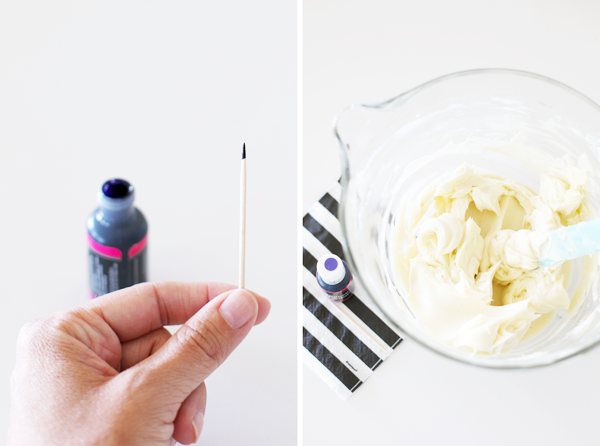
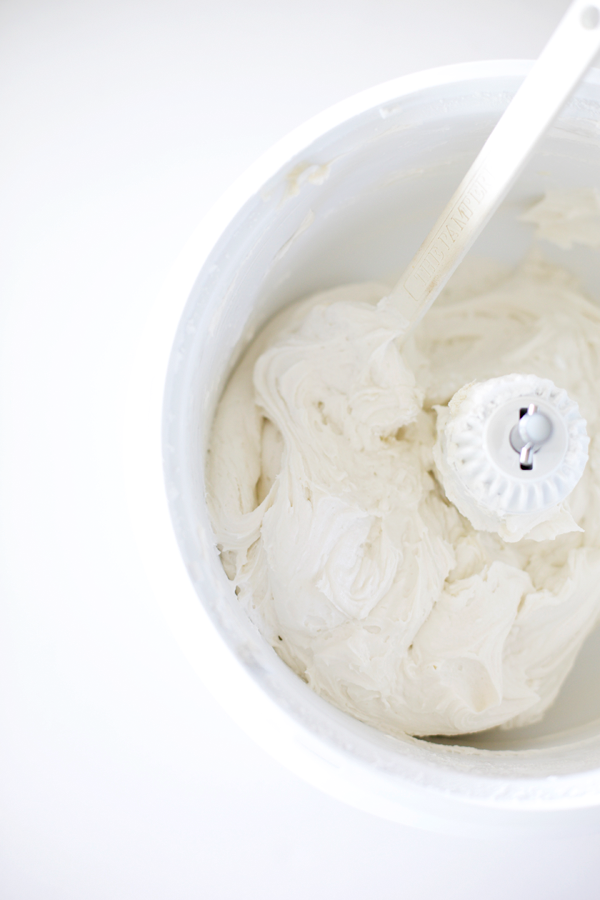
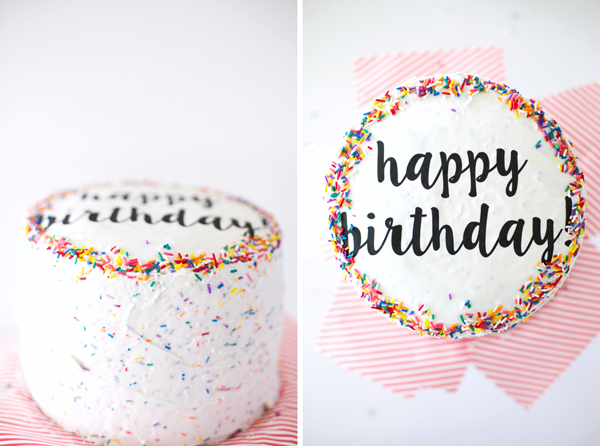
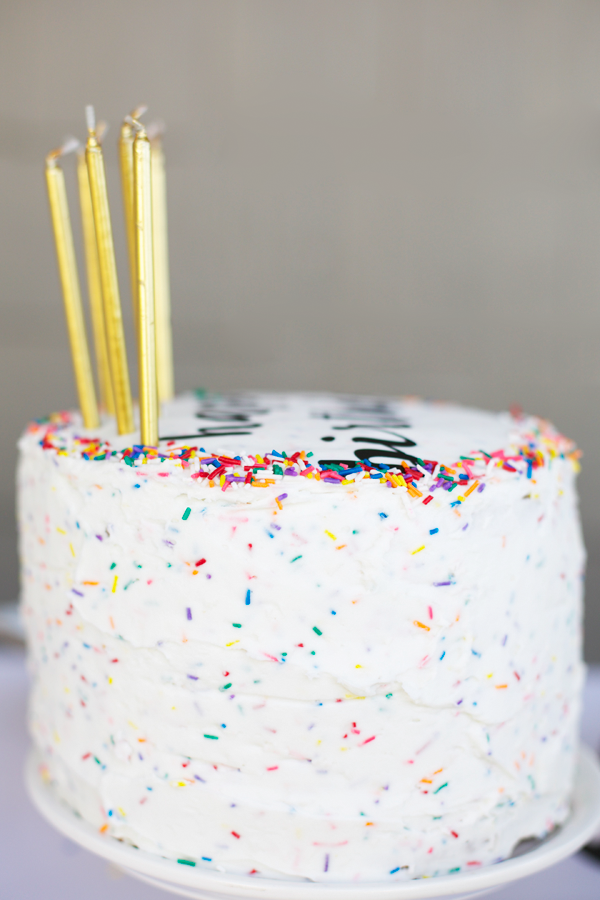
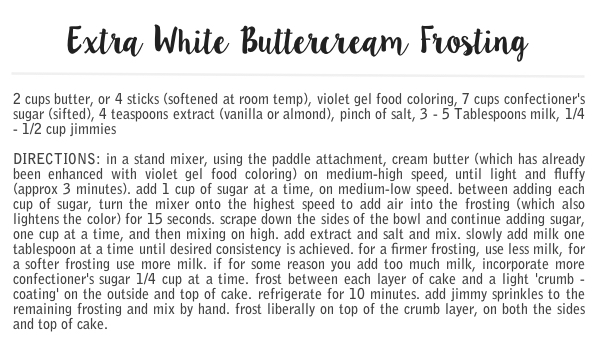
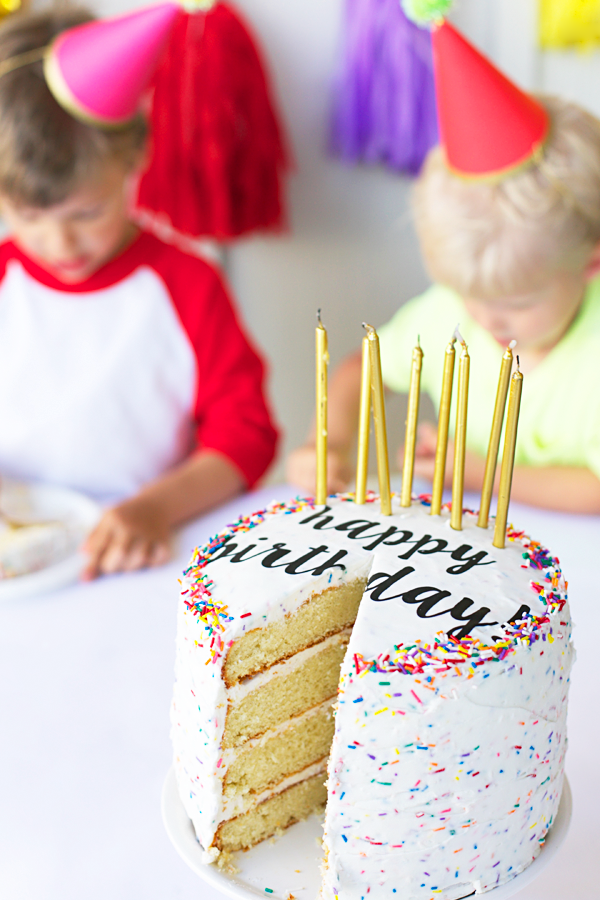
You guys, cake is kind of a big deal around our house, especially when the said cake is birthday cake! When preparing for THIS birthday party, black and white elements lent itself to a cake with extra-white buttercream icing. You know the kind — blinding artificial arctic white, like the bakeries in the stores somehow pull off. Well go figure, the butter in buttercream is yellow not bright white… cue the boo-hoo’s. But that did not deter me. Being a bright blonde, occasionally I use purple shampoo to take the brassiness out when it starts to look yellow. The idea was to apply the same theory to yellow butter, by adding purple food coloring gel. Eureka! It worked beautifully! The result was the whitest-white au’ natural buttercream! Call it beginners luck!
And if you’re looking to add some fun to your celebration, consider indoor jumping castle hire melbourne to keep the kids entertained while you whip up your next baking masterpiece!
As far as adding sprinkles to the frosting and the edible ‘Happy Birthday’ writing, I can not take the credit for that. I searched for ‘edible cake stickers’ and was led to THIS ingenious post, which could not be improved. For the printing of the labels, I used cakes.com. The wording can easily be adapted for any occasion. I created two I thought would be most applicable for your use, below.
Happy cake decorating, my friends!
Edible Sticker Templates:


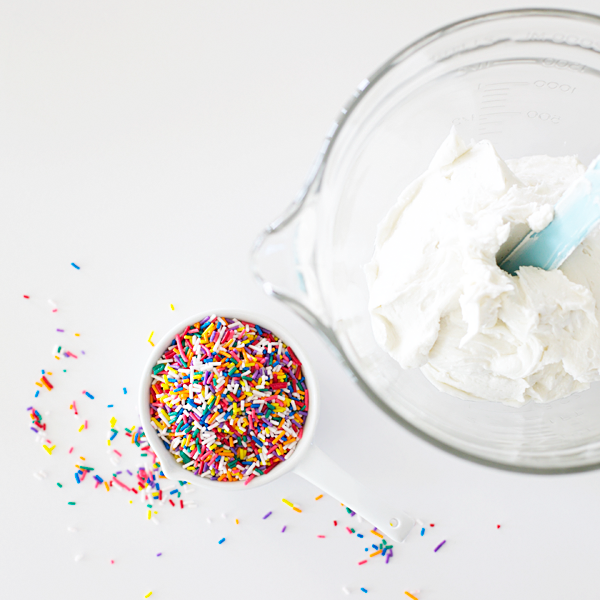
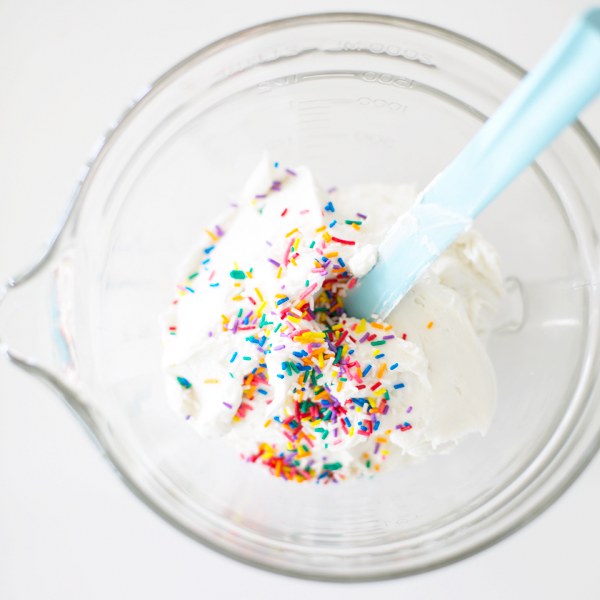
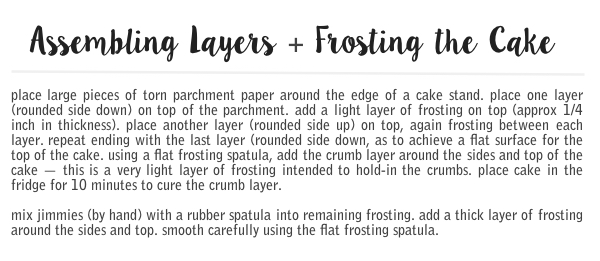
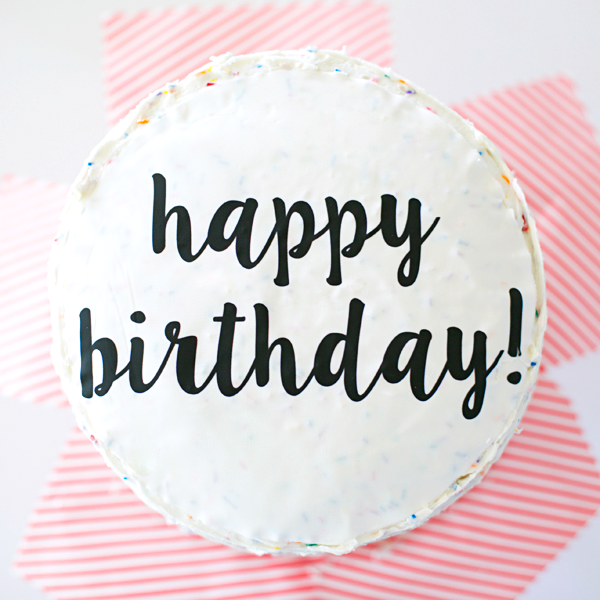

[…] For the birthday cake tutorial, go HERE. […]
So so pretty…and looks so delicious! I want cake now!
Genius!!! I’ll try this soon!!!! Now I want cake… Like right now
That’s amazing! I’m making your coconut lime cake for my brothers wedding I wonder if your trick would work with that icing – will have to get testing x
Yes, the same theory works with cream cheese frosting too. Just tint the butter beforehand Meep! Excited for your brother!
Maybe I missed it – do you cut the rounded tops off of the cake to help make it flatter or no? This is an insanely gorgeous cake!
If you want the top flat, this is what I do…
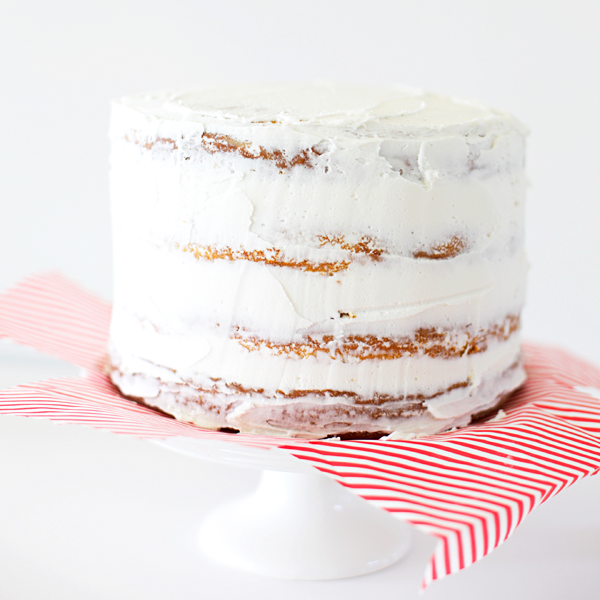
3 layer cake: bottom is rounded side down, middle is rounded side up, top is rounded side down.
4 layer cake: bottom is rounded side down, middle rounded side down, middle rounded side up, top is rounded side down.
Also, it helps when the layers are still warm, remove the cake from the pan and place on a wire cooling rack (rounded sides up). Then, using the flat bottom side of the cake pan, gently press on top of the cakes to slightly flatten the rounded side. Once cooled, I like to freeze each layer wrapped in wax paper until ready to frost.
That looks amazing – and such an ingenious idea to use violet food colouring for the white frosting! That made me laugh as I’m a blonde as well
http://en.emoi-emoi.com/
Brilliant!!!
Ha! I too use that “purple” shampoo to remove that brasy color from my hair! I would have never thought the same could be done for frosting! Genious you are! Beautiful cake!!
Thanks for sharing!
Great tip thanks so much for sharing can’t wait to try this out.
is this frosting good for piping? Or do I need to adjust my milk amount? Also, almond milk ok? Thank you for the tips!
How much frosting does this recipe yield?